Hello everyone!
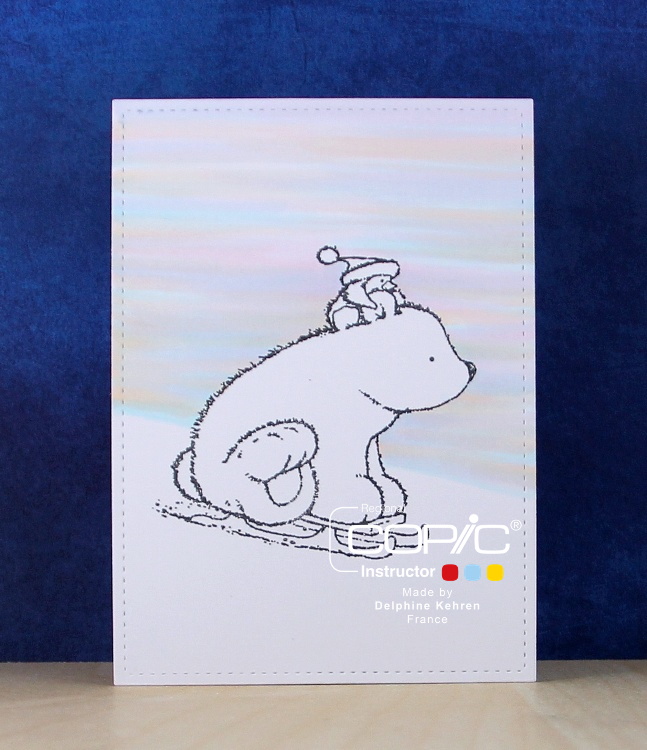
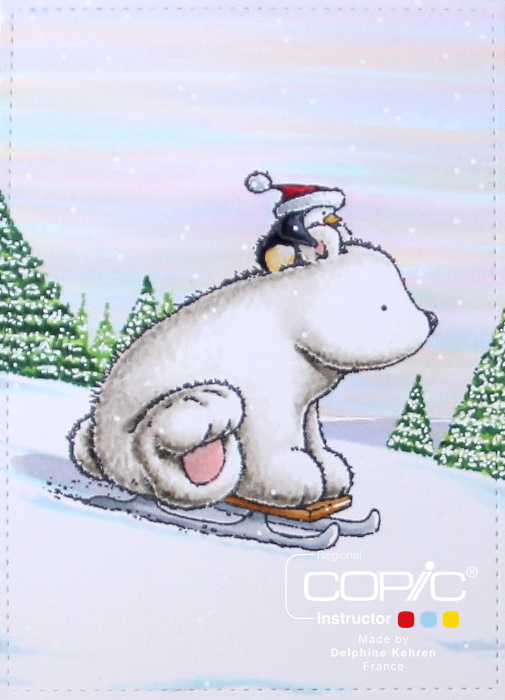
I’m back with a tutorial I did for the Copic Marker Europe blog with a winter scene. For my scene, I used a stamp from the Penny Black Festive Frolic set. I stamped it in Memento Tuxedo Black then die cut it with a Lawn Fawn die to be able to frame my image and visualize my scene.
I started with the sky, drawing the limit / hill in BG000. For a change, I went for a pastel orangy sky inspired by sky colours at sunset. I coloured from left to right and right to left making horizontal lines in BG000, V000 and YR000.
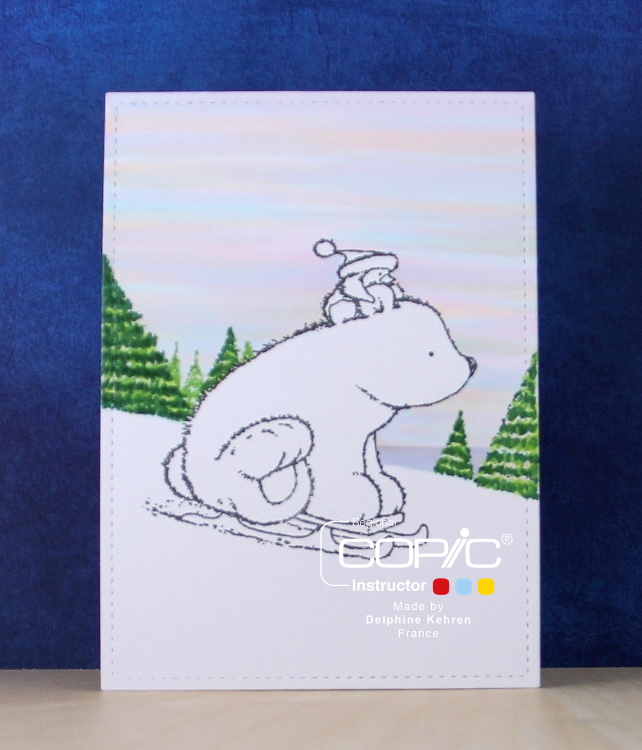
For a bit of interest, I added trees behind my hill line. I coloured from dark to light, “drawing” pine needles in G29, then blending a bit using YG17 and a bit of YG03. For the trees further in the distance, I skipped the G29. At last, I also used BV000 to add a “horizon” in the distance.
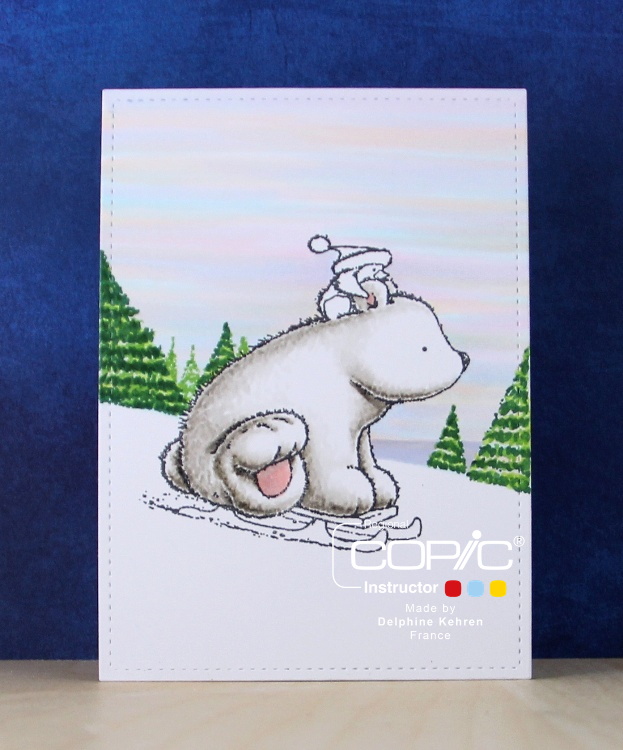
I then coloured the bear in Warm Greys – W0, 1, 3, 5 – and R20. I “drew” the hair from the fur going from dark to light.
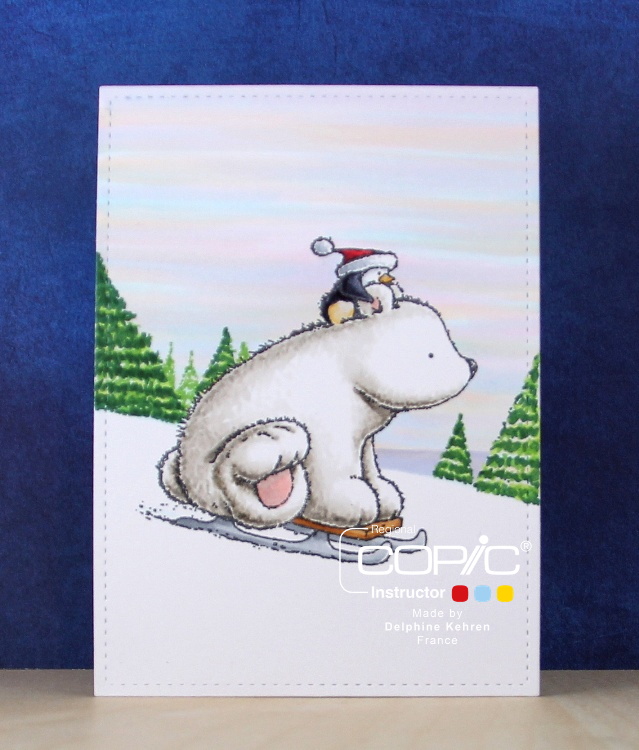
Next I coloured the little penguin and sleigh (see colours below).
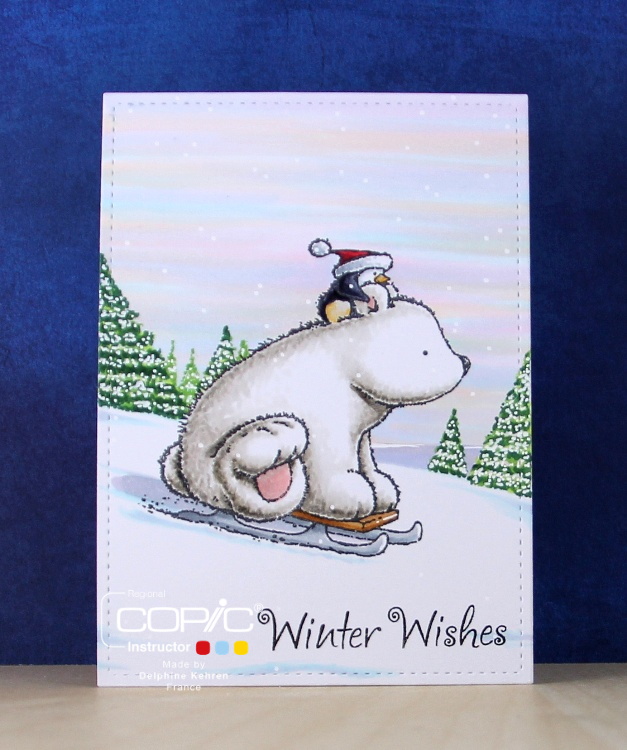
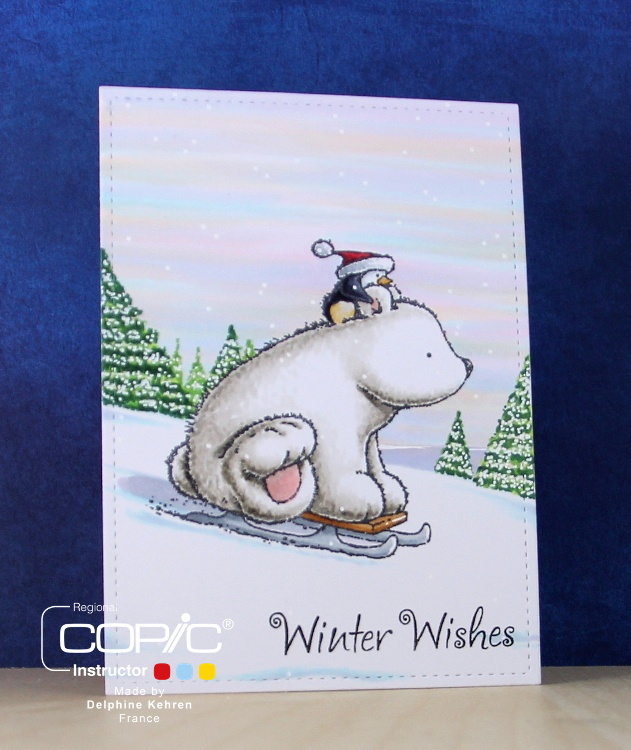
Here is the final image, with a sentiment.
Stamps: Festive Frolic – Penny Black
Colouring: Copic sur Perfect Colouring Paper
Die: Lawn Fawn
Thank you very much for your visit, see you soon! Hugs,
Delphine xx
