Hello everyone!
I’m back to share a tutorial I made for my Kraftin’ Kimmie Stamps DT post and I’m showing you how to create an indoor Christmas scene with Kraftin’ Kimmie products. For this tutorial, I am using a super cute character from the Santa Paws stamp set and our Brick Wall Stencil – and Krafty Inks!
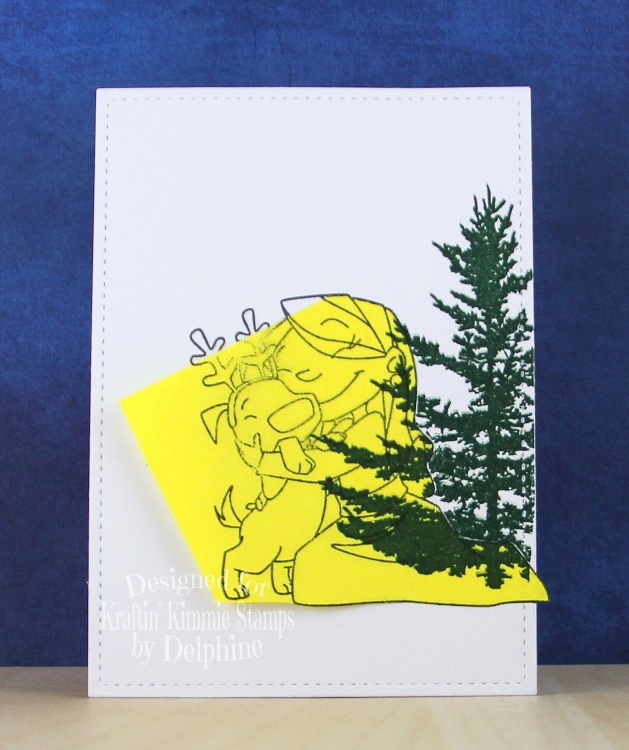
First, I stamped a sweet girl from the Santa Paws set in Wicked Black Ink, die cut my image then masked her to add a tree from my stash, to create the base of my scene.
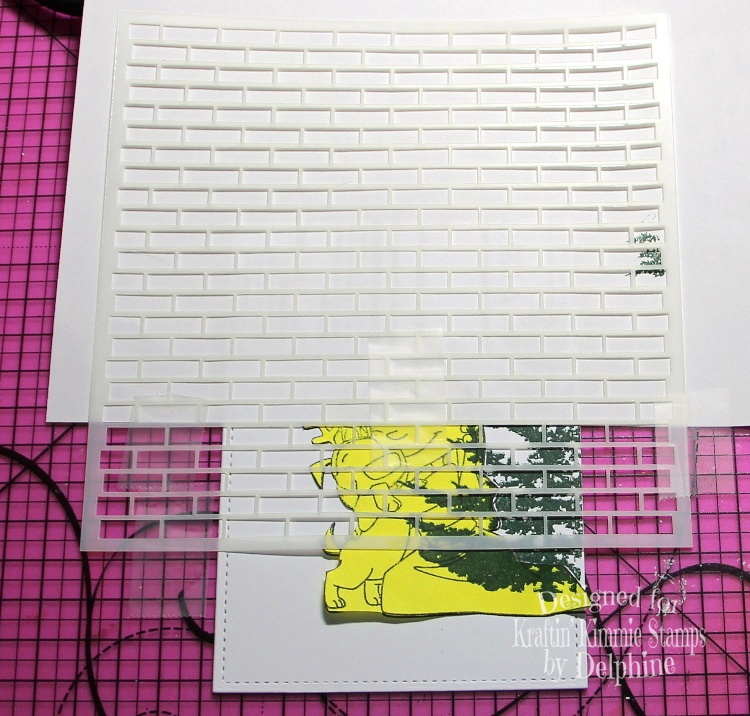
Next, keeping the girl mask on top of my image, I put my Brick Wall Stencil on my image, with a piece of paper underneath it to only add a few lines of brick. I applied Party Peach Hybrid Ink on my stencil with a sponge dauber to create the bricks.
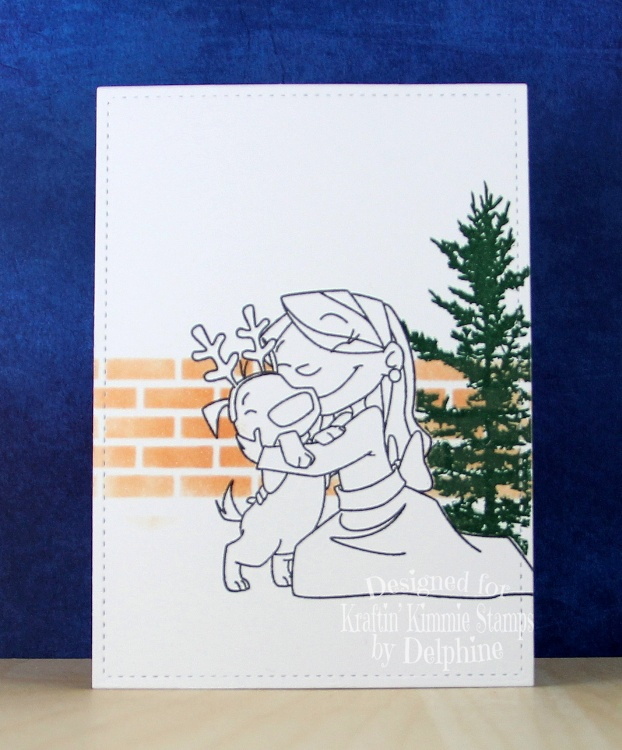
Here is what my image looked like after removing the masks and stencil.
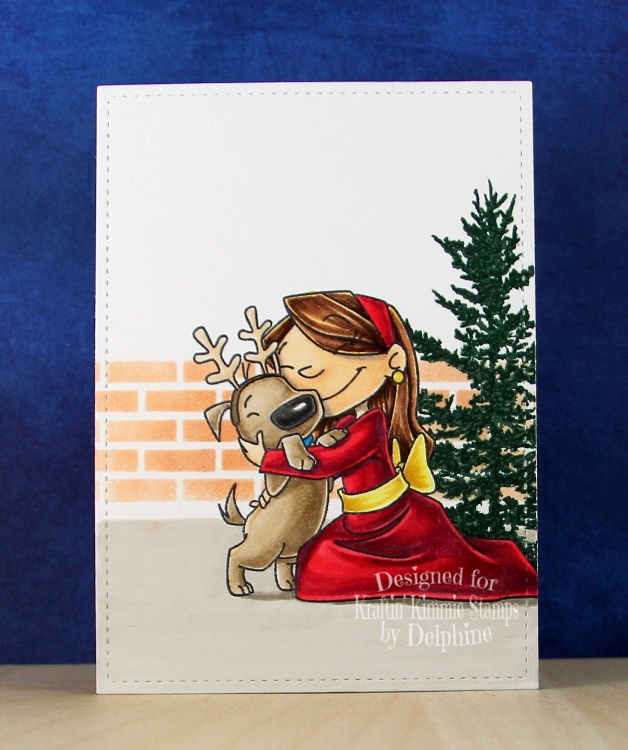
I then coloured my image in Copics. Here is the list of the markers I used:
Skin: E21, 50, 51, W3
Hair: E25, 59, YR21
Dress: C5, R35, 37, 39, Y11, 26
Dog: E40, 42, 43, 44 (E30, 31, 44 for the antlers)
Ground: W1, 3
I also went back on the tree with a green Staedler Triplus fineliner to cover the little white spots that were left here and there.
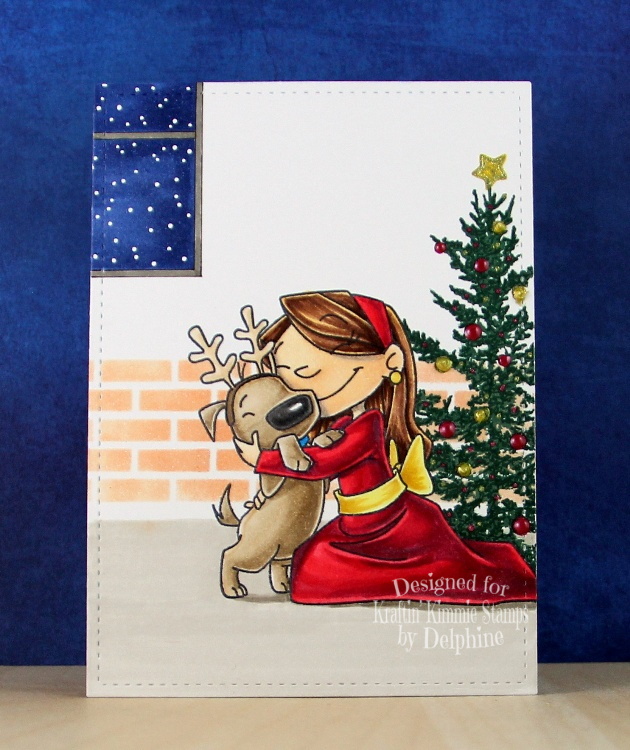
Because the background was a little bare, I drew a window using a Copic multiliner, coloured the sky using B39 and added some snowflakes for a true winter feel. As for the tree, I drew a star at the top in gold gel pen and created baubles on the tree in Nuvo Drops.
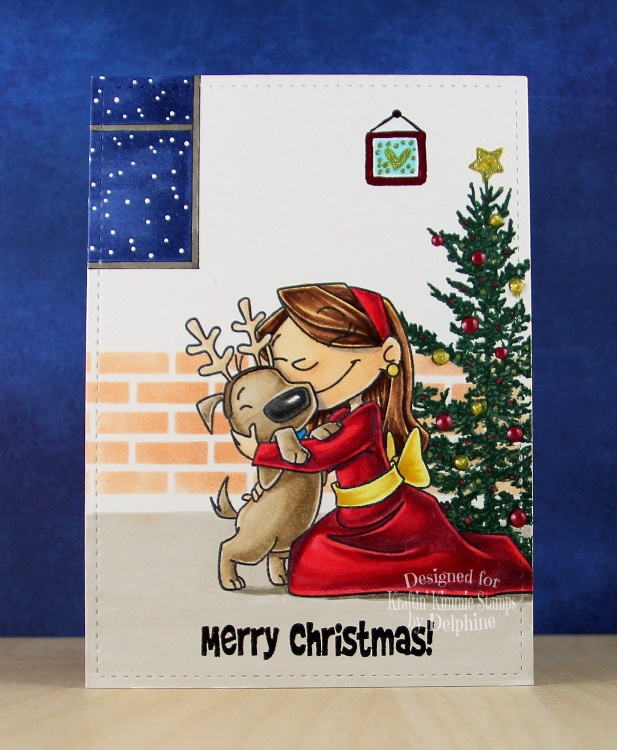
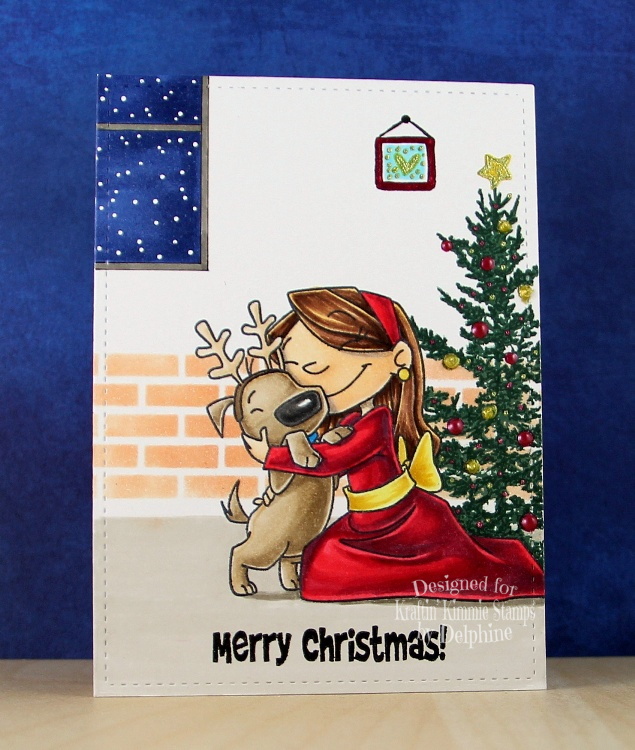
I then drew a little frame on the wall and stamped a sentiment from the Caroling Cuties stamp set. And voilà!
Thanks for stopping by, have a fab Monday! Hugs,
Delphine xx