Hello everyone!
November being here, it’s time for me to start making Christmas cards! For today’s tutorial, I chose an adorable Santa from the Glimps store called Santa Claus Gift.
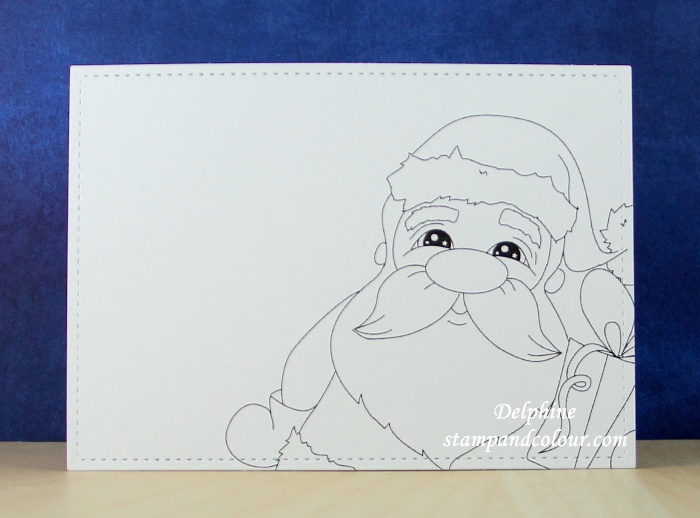
First I cropped my image at the size I wanted, printed it and die cut it with a Lawn Fawn rectangle die.
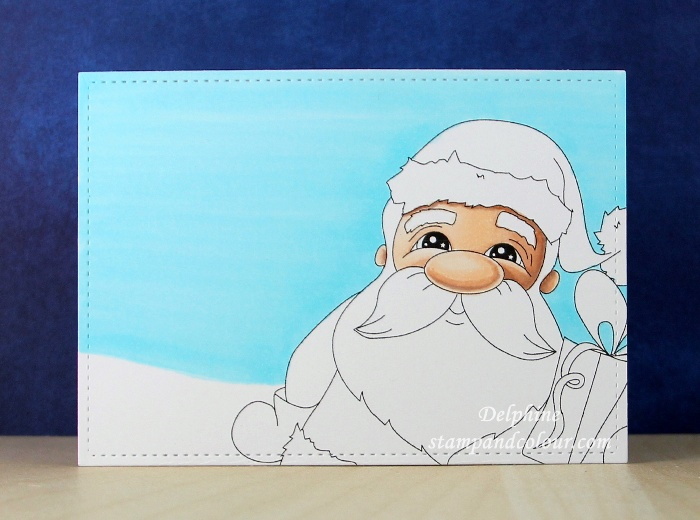
I coloured the sky in Copic B01 creating a hill to suggest snow and I coloured my Santa’s skin using E000, 00, 11, 13, 71.
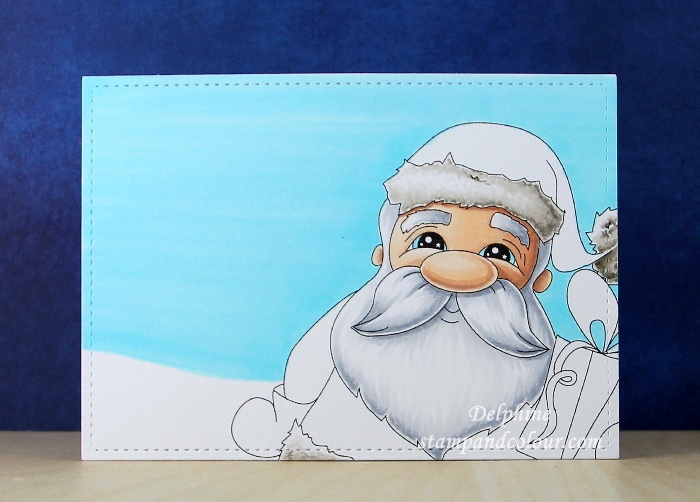
Next I focussed on the white parts of my Santa. I coloured the hair, beard and eyebrows in C0, 2, 4 and, for the fur of the coat, I used my Warm Greys W0, 1, 3, 5. I then coloured the gift, using Y11, 26, 28 for the ribbon and G21, 24, 99 for the present.
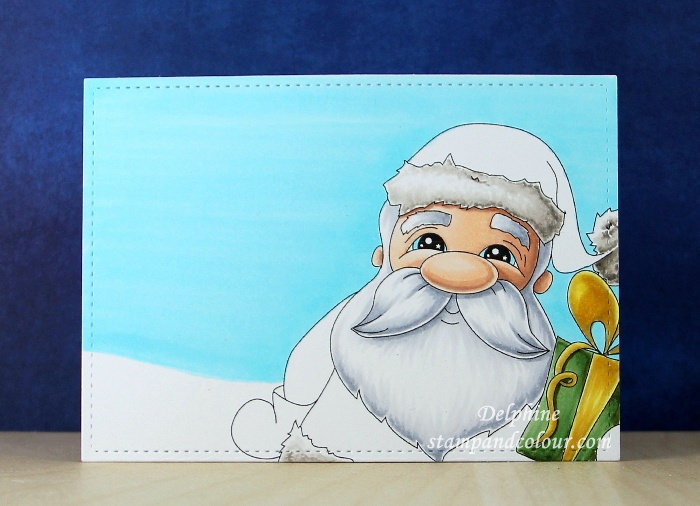
I then did the rest of the outfit – C5, R35, 37, 39 for the red and C4, 6, 9 for the black.
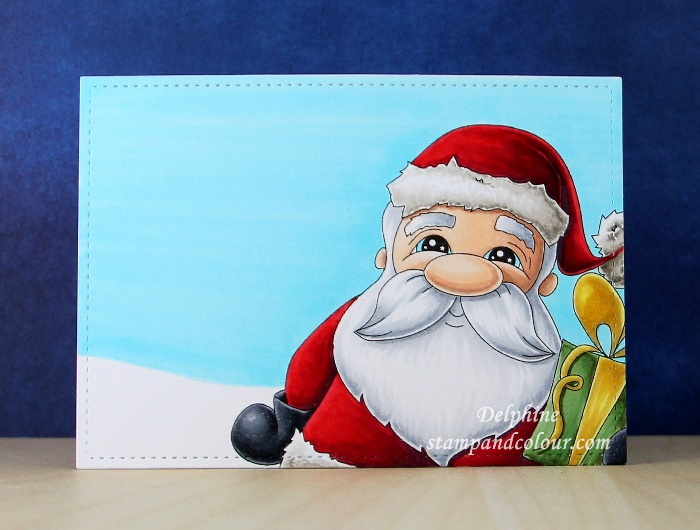
I added a bit of BV000 and BG000 for the snow hill, then I applied a bit of Distress Inks around the edges with a blending tool.
I stamped a sentiment from the Kraftin’ Kimmie Holiday Wishes set in Versamark which I embossed in white, and as a last step, I added white dots with an acrylic paint marker for the snowflakes.

Image and stamp: Santa Claus Gift – Glimps ; Holiday Wishes – Kraftin’ Kimmie Stamps
Colouring: Copics on Make it Colour Blending Card
Dies : Lawn Fawn
Other: Versamark, Embossing Powder, Distress Inks, Acrylic Paint Marker
Skin: E000, 00, 11, 13, 71
Hair and beard: C0, 2, 4
Fur: W0, 1, 3, 5
Red: C5, R35, 37, 39
Black: C4, 6, 9
Present: G21, 24, 99 , Y11, 26, 28
Sky: BG01
Snow: BG000, BV000

Thank you very much for your visit! Hugs,
Delphine xx