Hello everyone!
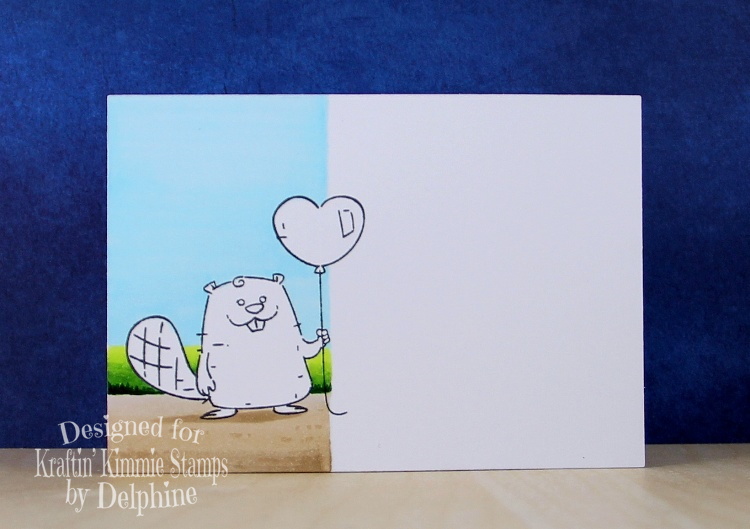
Today I’m sharing a step-by-step Copic tutorial on how to give life to a stamp, by thinking a bit… out of the box! For this tutorial, I’m using an adorable beaver from the YOU’RE GNAW-SOME stamp set.
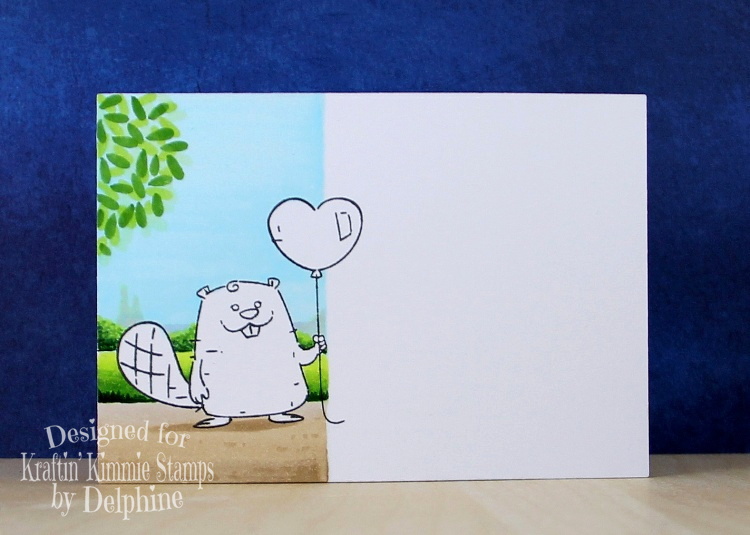
I stamped my image in Wicked Black Ink on a rectangular piece of paper and drew a line in BG0000 to mark the limit of my colouring and you can see I left a piece of balloon out of my box. Also, no need to colour a full background, juste a partial background is nice way to get a different look. I created a simple background colouring a sky in B00, then the ground in E40, 42, 43 and I then added a strip of grass in YG01, 03, 17 and blades of grass in G28.
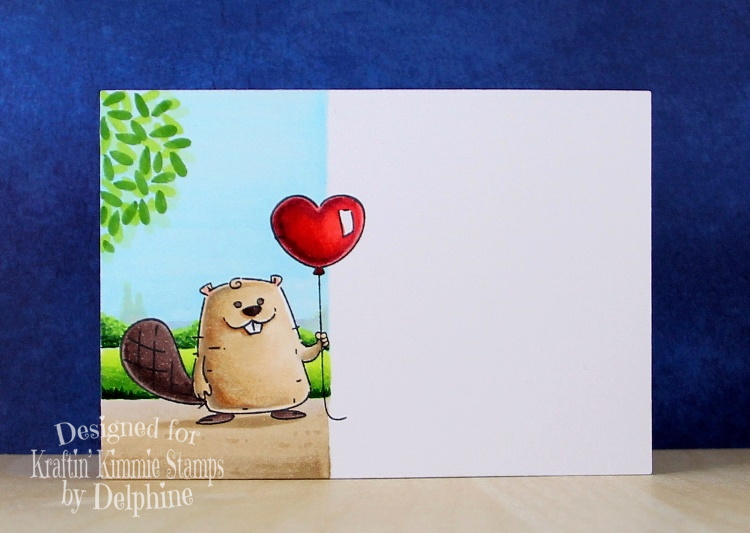
I then added details to my background to make it a bit more “real” and natural, some bushes in G28, YG03, 17 and a few shapes in the distance, using V20 and G20 to have soft tones. In the top left corner, I suggested leaves using the brush nibs of my G20, YG17 and YG03 Copics.
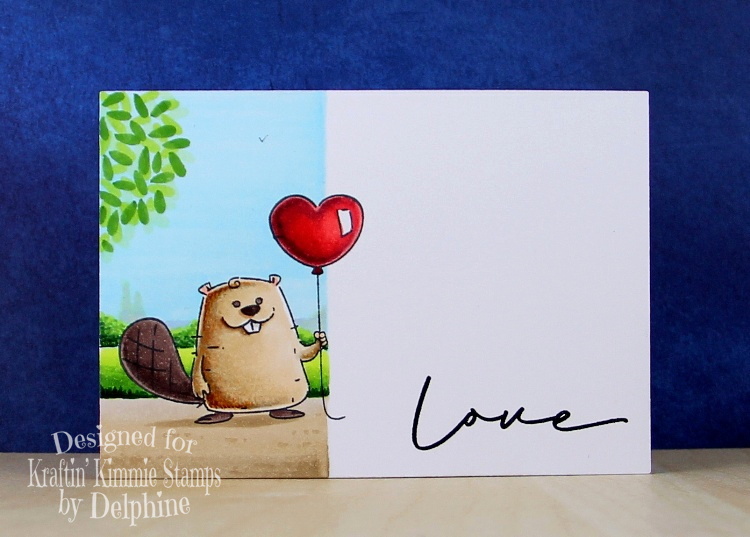
Next I coloured my little beaver using E74, 77, 79 for the tail and feet and to give him a richer colour, I shaded his fur in T1,3 where the fur was darkest (source of light on the top right) and went over my Ts using E30, 31, 34. For the balloon, I used R22, 24, 56, 59.
I stamped a Love sentiment and added a few more details : a little bird in the sky and I “drew” fur on the left of my beaver using fineliners in colours matching my Copic fur to give it more depth… and voilà!
Thank you very much for stopping by, have a great day! Hugs,
Delphine xx


